How to Make Your Own DIY Bike Graphics and Bike Stickers
- Viveca Cat
- Jun 14, 2022
- 5 min read

SEO Description: Here's a short guide on how you can go about making your own bike graphics and bike stickers. Shop Bicycle Decals for high-quality bicycle graphics stickers.
Introduction
If you follow our blogs, you probably already know that bike graphics and bike stickers are a great and inexpensive way to change up your bike’s look and even restore it completely. If you don’t already know, we’ll give you a short background on what bicycle graphics stickers are and how they can make your bike look brand new! This article is predominantly for the DIY-ers out there. If you’re a person that loves to take on DIY projects when it comes to biking, we’ll run you through the process of making your very own bike stickers. Keep in mind, however, that buying ready-made stickers from our platform works out way cheaper than DIY-ing them and the quality of our bike stickers is incomparable. But, if you’re keen and interested, read on to learn more about how you can make your own bike graphics.
What Are Bicycle Graphics Stickers?
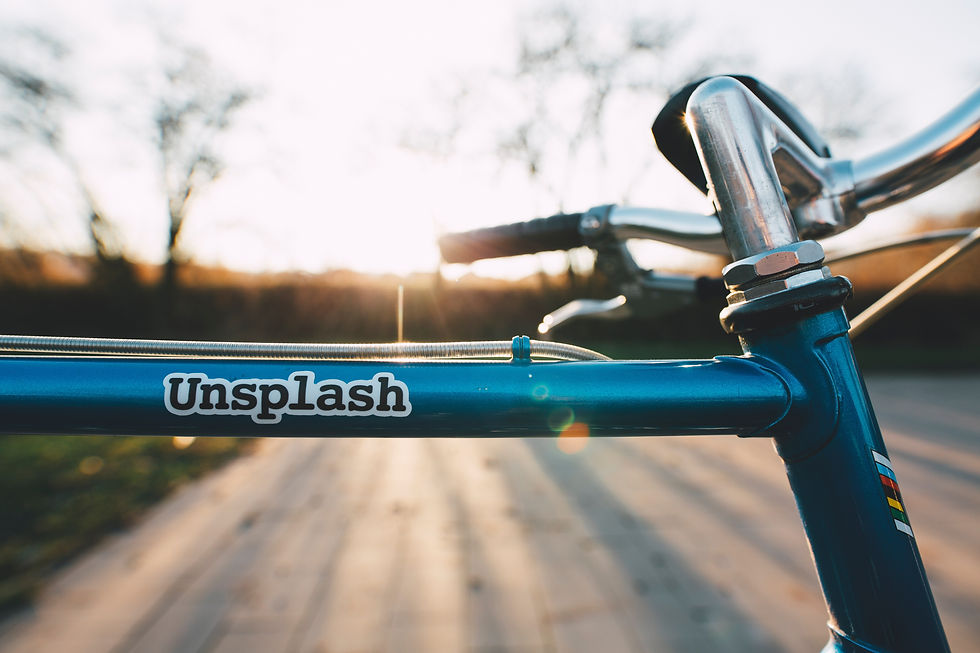
Before we move on to the DIY section of the article, we’ll give you a quick run-through of what bike stickers are and how you can use them. Bicycle graphics stickers are stickers that fit onto the frame of your bike. They’re very convenient to use and can really change the look of your bike. They’re a small change, but they make a world of a difference to your ride! The best part about bike stickers is that you can always switch them up when you get bored. So, you’re able to consistently change the look of your bike whenever you want, for a cheaper price compared to changing your parts altogether.
It’s a common misconception that decals for bicycles have to go on certain parts of the frame of your bike because, in truth, you can do what you like with them! You can apply cycle stickers to your top tube, bike frame, beneath the handlebars, and even on your helmet!
How Can You Use Bike Stickers to Amp Up Your Ride?
There are a number of ways in which bike stickers can help you amp up your bike. If you have an old bike with a particular make, and the logos and branding have faded away because of time, you don’t have to stash away your bike in sorrow. You can conveniently bring it back to life by applying bike graphics to its frame! You can either re-do the original branding and stickers, or you can totally change the make of your bike altogether with stickers!
Maybe you’re a little bored of the old designs on your bike and want to switch it up a little or maybe even feign a whole new make altogether. With bicycle graphics stickers, you can consistently change the look of your bike because of how easy they are to apply and remove. This way, you will always have the look you want without having to dish out a lot of cash on new parts and new bikes.
Bike stickers inevitably make you feel like a pro. They allow you to ride around with confidence, especially if you’re into races and triathlons. You can show team support through bike stickers, and loyalty to your brand of choice. Bike graphics even help you identify your bike in big crowds, so you never have to wander around wondering “wait, which one’s my bike again?” no matter how popular the model!
DIY Bike Graphics / Bike Stickers
Okay, now that you’re caught up on what bike stickers are and how you can use them to spruce up your bike, we can move on to the DIY section of the article! If you’re interested in trying to make your own bike stickers at home, read on. All you really need is a good graphic designing/editing program to help you.
One of the most mainstream and well-known programs you can use is Photoshop. It’s a super professional platform that can help you make some seriously rad designs. It comes with a toolbar which has multiple tools to choose from. When making your own bike stickers and bike graphics, you can use the “Text” tool and “Custom Shape” tool to help you. You can upload an image of your bike and use tools like “Chalk and Charcoal” to piece clip art onto it. You can even use different fonts for text and completely personalize it. If you like to hand-draw things, you can also hand-draw your design onto the program and apply various effects and filters like glow and shadow to make the design pop more! When using photoshop, always make sure to save your image as a high-res JPEG file so it prints well.
Another great program you can use is ArtRage. It caters to more artistic bike graphic designs and has all the advantages of Photoshop, for a lower price. There are lots of different tools and brushes you can use to make your own bike graphics. In fact, it even has stencils you can use too! It also allows you to hand-draw your design using various brushes according to your own style. You can mix and match and combine many effects to give your bike the artistic touch it needs. If you’re someone who prefers the classic drawing style, you can always hand-draw your design, scan it onto your computer, and upload it to ArtRage to edit it further. You can use it as a stencil or just edit the scanned image itself for a more hand-drawn look.
Paint is also a good option for creating your very own bike graphics. It’s a very basic program that comes free on most computers. It is very user-friendly and not as complex as Photoshop and ArtRage. This makes it the easiest option out of the three. Paint is made in such a way that even children can use it easily. You can use Paint’s toolbar for various things to help you draw out your design. You can also add clip art to it and modify it according to how you want it to look. You even have the option of choosing pretty much any colour you like. The only downfall, however, is that Paint does not allow you to work in layers as Photoshop and ArtRage do. This makes it both easier and harder to edit, depending on the intricacy of your design.
Once you’ve made your design and saved it as a high-res JPEG image, you can run it through your printer with sticker paper. You can also take it to a local printing shop and have it printed there.
Conclusion
When you DIY your own bike graphics, you will have to spend a lot on the editing program, the printer, sticker paper, and the printing shop. It also takes a lot of time, effort, and running around. The main issue with DIYing it, apart from the fact that it’s costly, is that you probably won’t be able to get bike stickers of high quality that last as long as professional stickers from our shop do. It’s a great one-off option for instant gratification, but it won’t last you as long as you’d expect it to.
So, if you’re looking for high-quality bicycle graphics stickers, it’s always best to buy them from a trusted professional source like Bicycle Decals.
With Bicycle Decals, you get a wide range of perfect-fitting stickers that are printed with utmost quality and lasting in mind. So, why go through the effort of DIYing it to get results that aren’t as good and cost way more? Head on over to the Bicycle Decals online shop to find the perfect bike stickers for your ride!


Comments